Inspection procedure to include: – Damage mechanism
– Suitable NDT technique
– Inspection interval
– Inspection Person Qualification API 510 Sour Service – Lamination, Blistering, HIC Etc. Techniques – AUT, Phased Array, TOFD
Inspection procedure to include: – Damage mechanism
– Suitable NDT technique
– Inspection interval
– Inspection Person Qualification API 570 Conventional Approach – General Corrosion
Techniques – UT, RT, Visual, Replica etc.
• Corrosion Under Insulation (CUI) – Stainless steel (SCC)
– Carbon Steel (General/Pitting Corrosion) – Corrosion Under Support (Crevice)
• ADVANCED Techniques
LRUT, SLOFEC, PEC, Digital Radiography AUT, ACFM, SRUT Etc.
• Offshore Pipeline
– External (ROV every 5 years) – Concrete Condition
– CP measurements – Free Span
– Internal (IP every 5 years) – UT for liquids (Oil, water),
– MFL for gases
– ICDAAssessment
Onshore Pipeline
– External and Internal (every 5 years) – LRUT Screening
– UT or Digital RT Defect Characterisation – FFS and RLA
Inspection procedure to include: – Damage mechanism
– Suitable NDT technique
– Inspection interval
– Inspection Person Qualification API 653 Conventional Approach – API 653
Internal and External.
• External
– Visual, UT/AUT/SRUT
• Internal Inspection
– SLOFEC thickness > 15 mm – MFL thickness > 15 mm
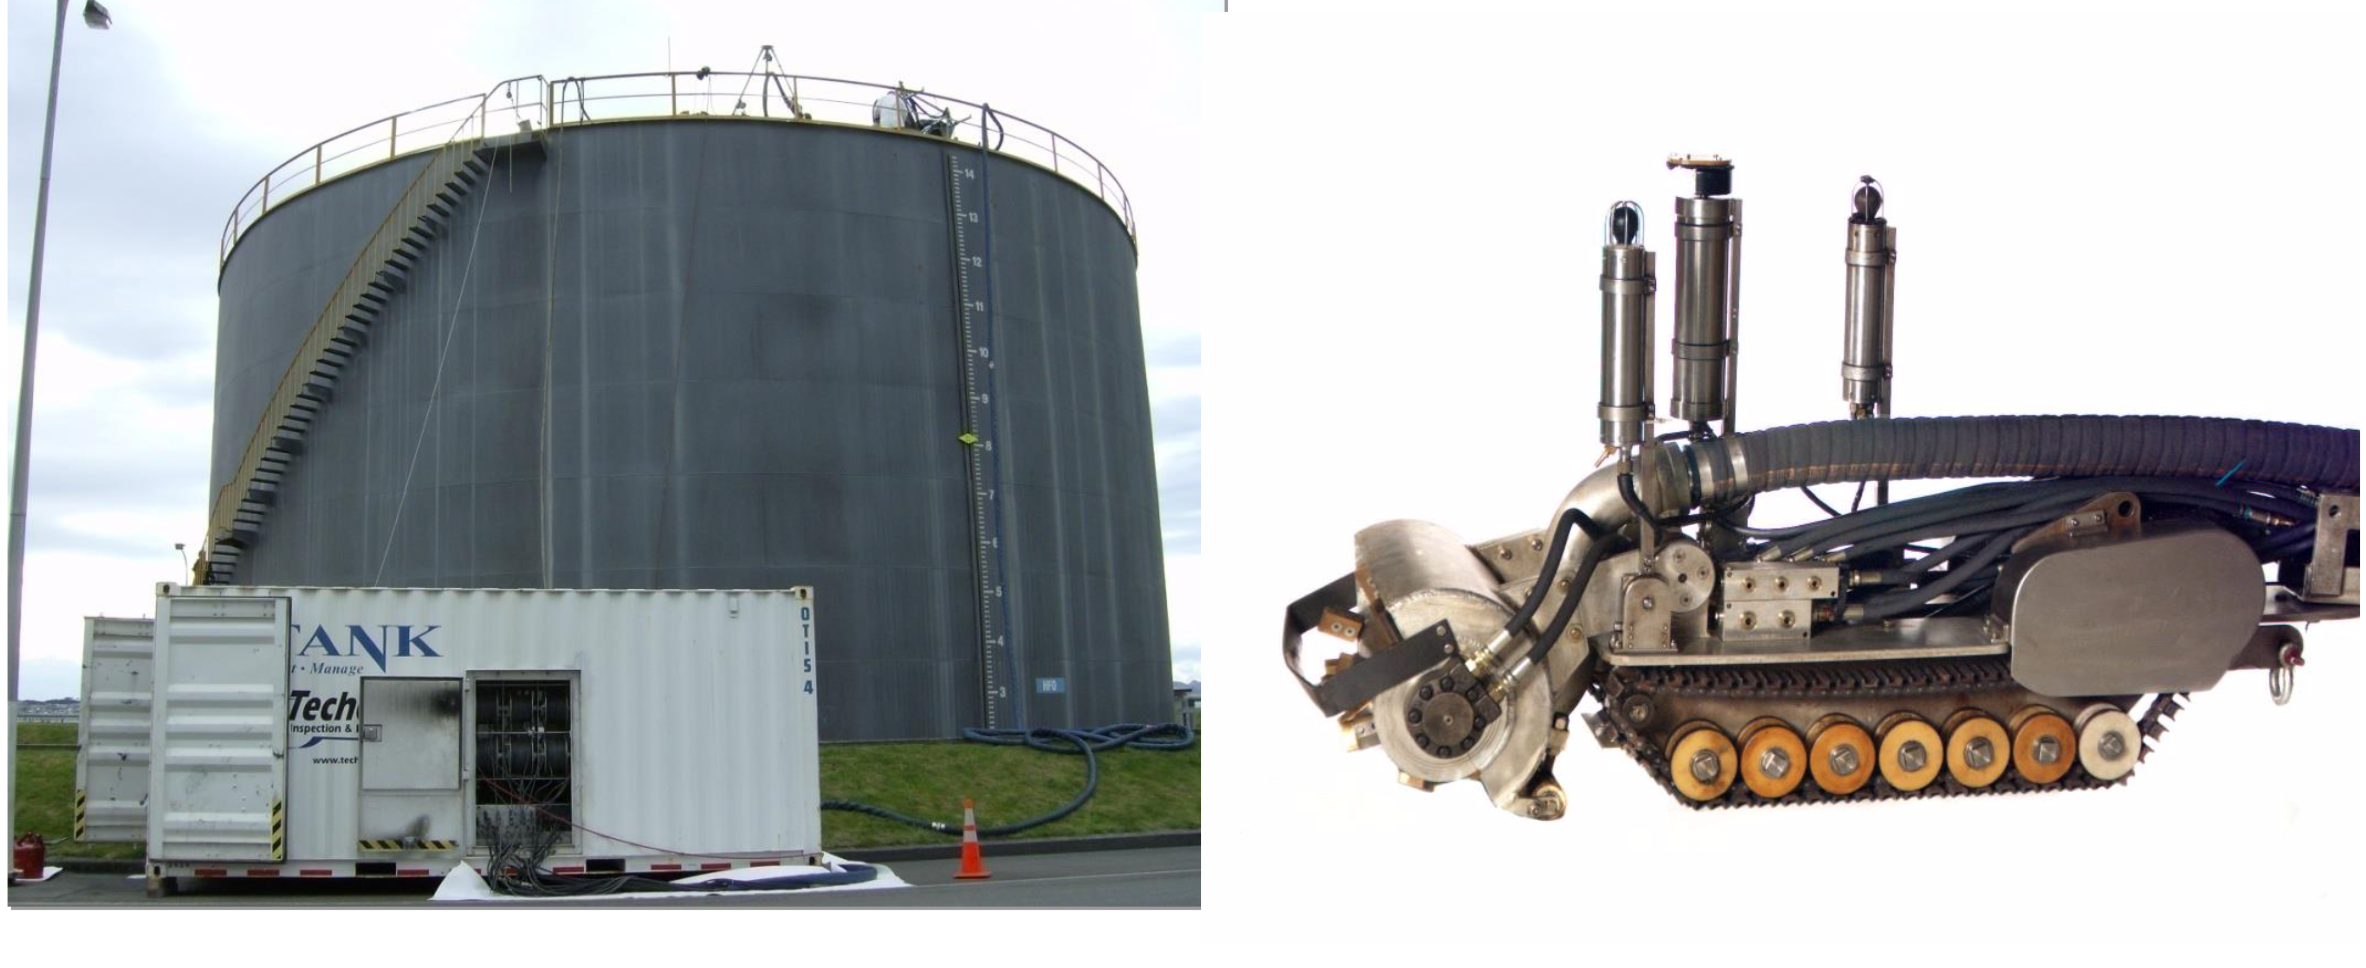
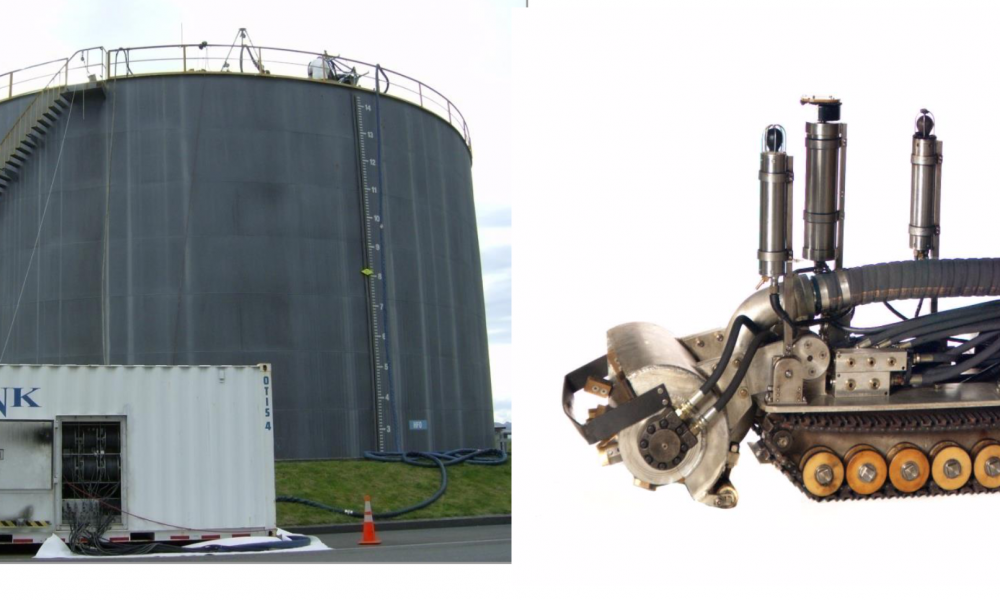
• On – stream Inspection – Robotic Inspection
• Topside – Visual
– Thickness Survey – CP measurements
• Sub sea – ROV
– Visual
– Flooded member detection
• Inhibit
– SRB (Sulphide Reducing Bacteria)
• Monitoring
– Coupons, Chemical Analysis – Thickness Survey
• Assessment
– Fitness-for-Service Assessment
– Run / Repair / Re-rate / Replace Decision
Topside: Insulated objects:
• Piping Vessels
• Heat exchanger shells
• Separators • De-sanding
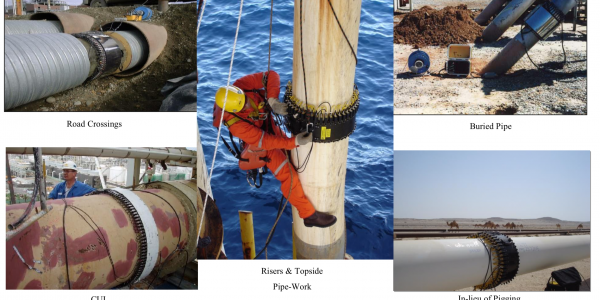
CUI – Guided Wave Ultrasonic Testing (LRUT)
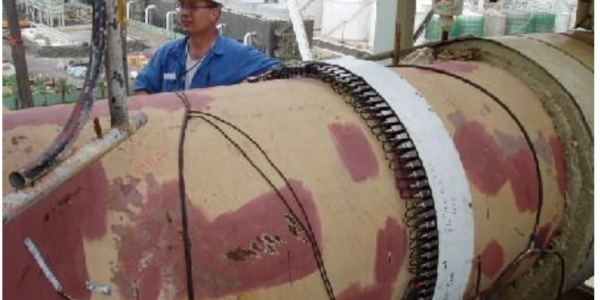
The Long Range Guided Wave Ultrasonic Technique was designed to inspect long section of piping from a single location.
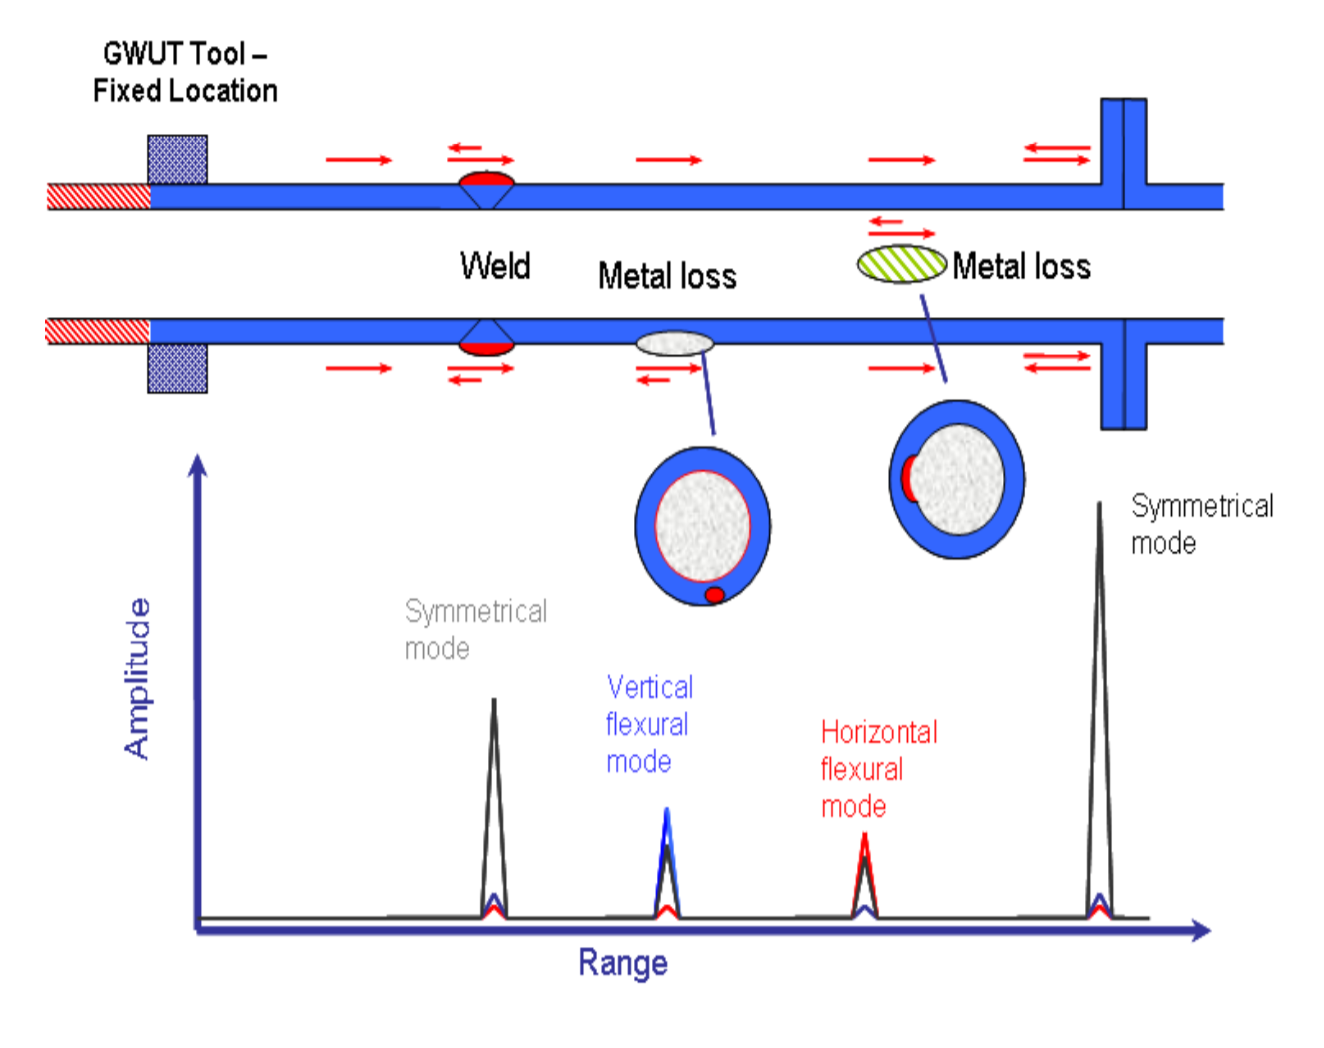
How It Works – torsional or longitudinal guided waves are induced into the pipe body and propagated along the pipe segment being inspected. When these guided waves identify an anomaly of pipe feature they mode convert into laminar waves and reflect back to the tools original location. Using a laptop these signals are digitally captured and processed. The time-of-flight for each signature is calculated to determine the distance from the tool and the significance of the anomaly. The octants determine the position around the pipe.
Parameters and Limitations
- Diameters – 1.5″ to 54″
- 100% Coverage
- Test Range• Typical ±30m• Ideal conditions ±180m
- Productivity• Typical 600m per day• Under ideal conditions 3km has been achieved
- Service Temperature up to +125°C
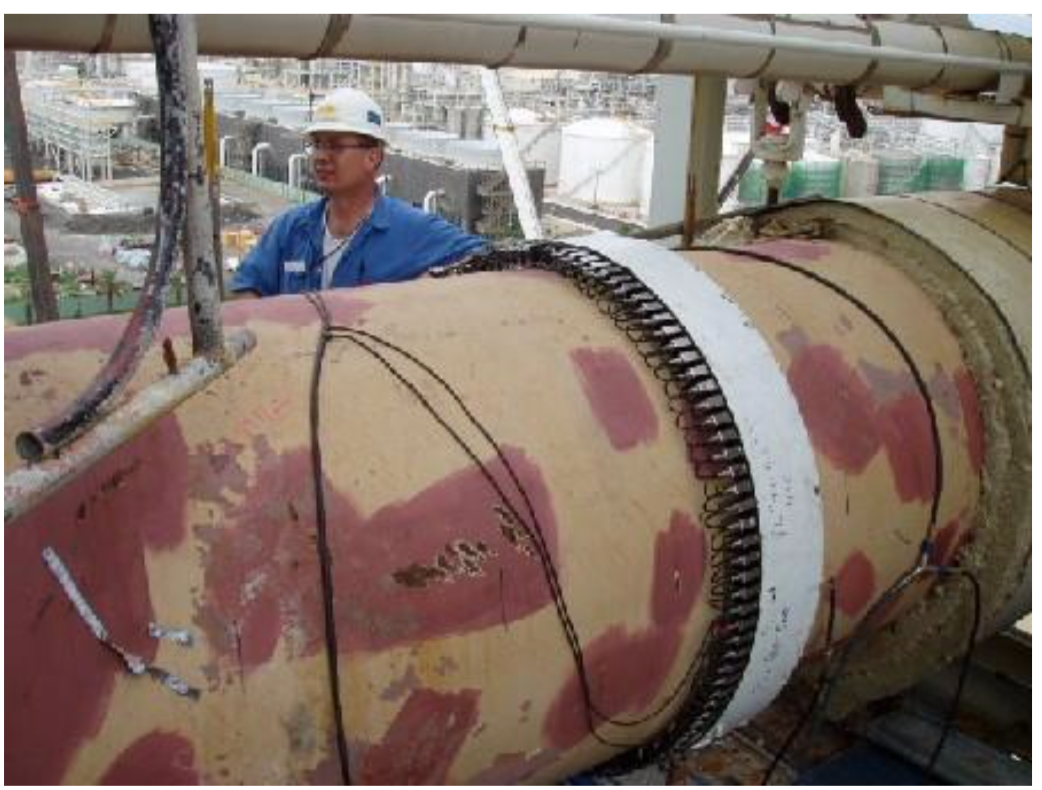
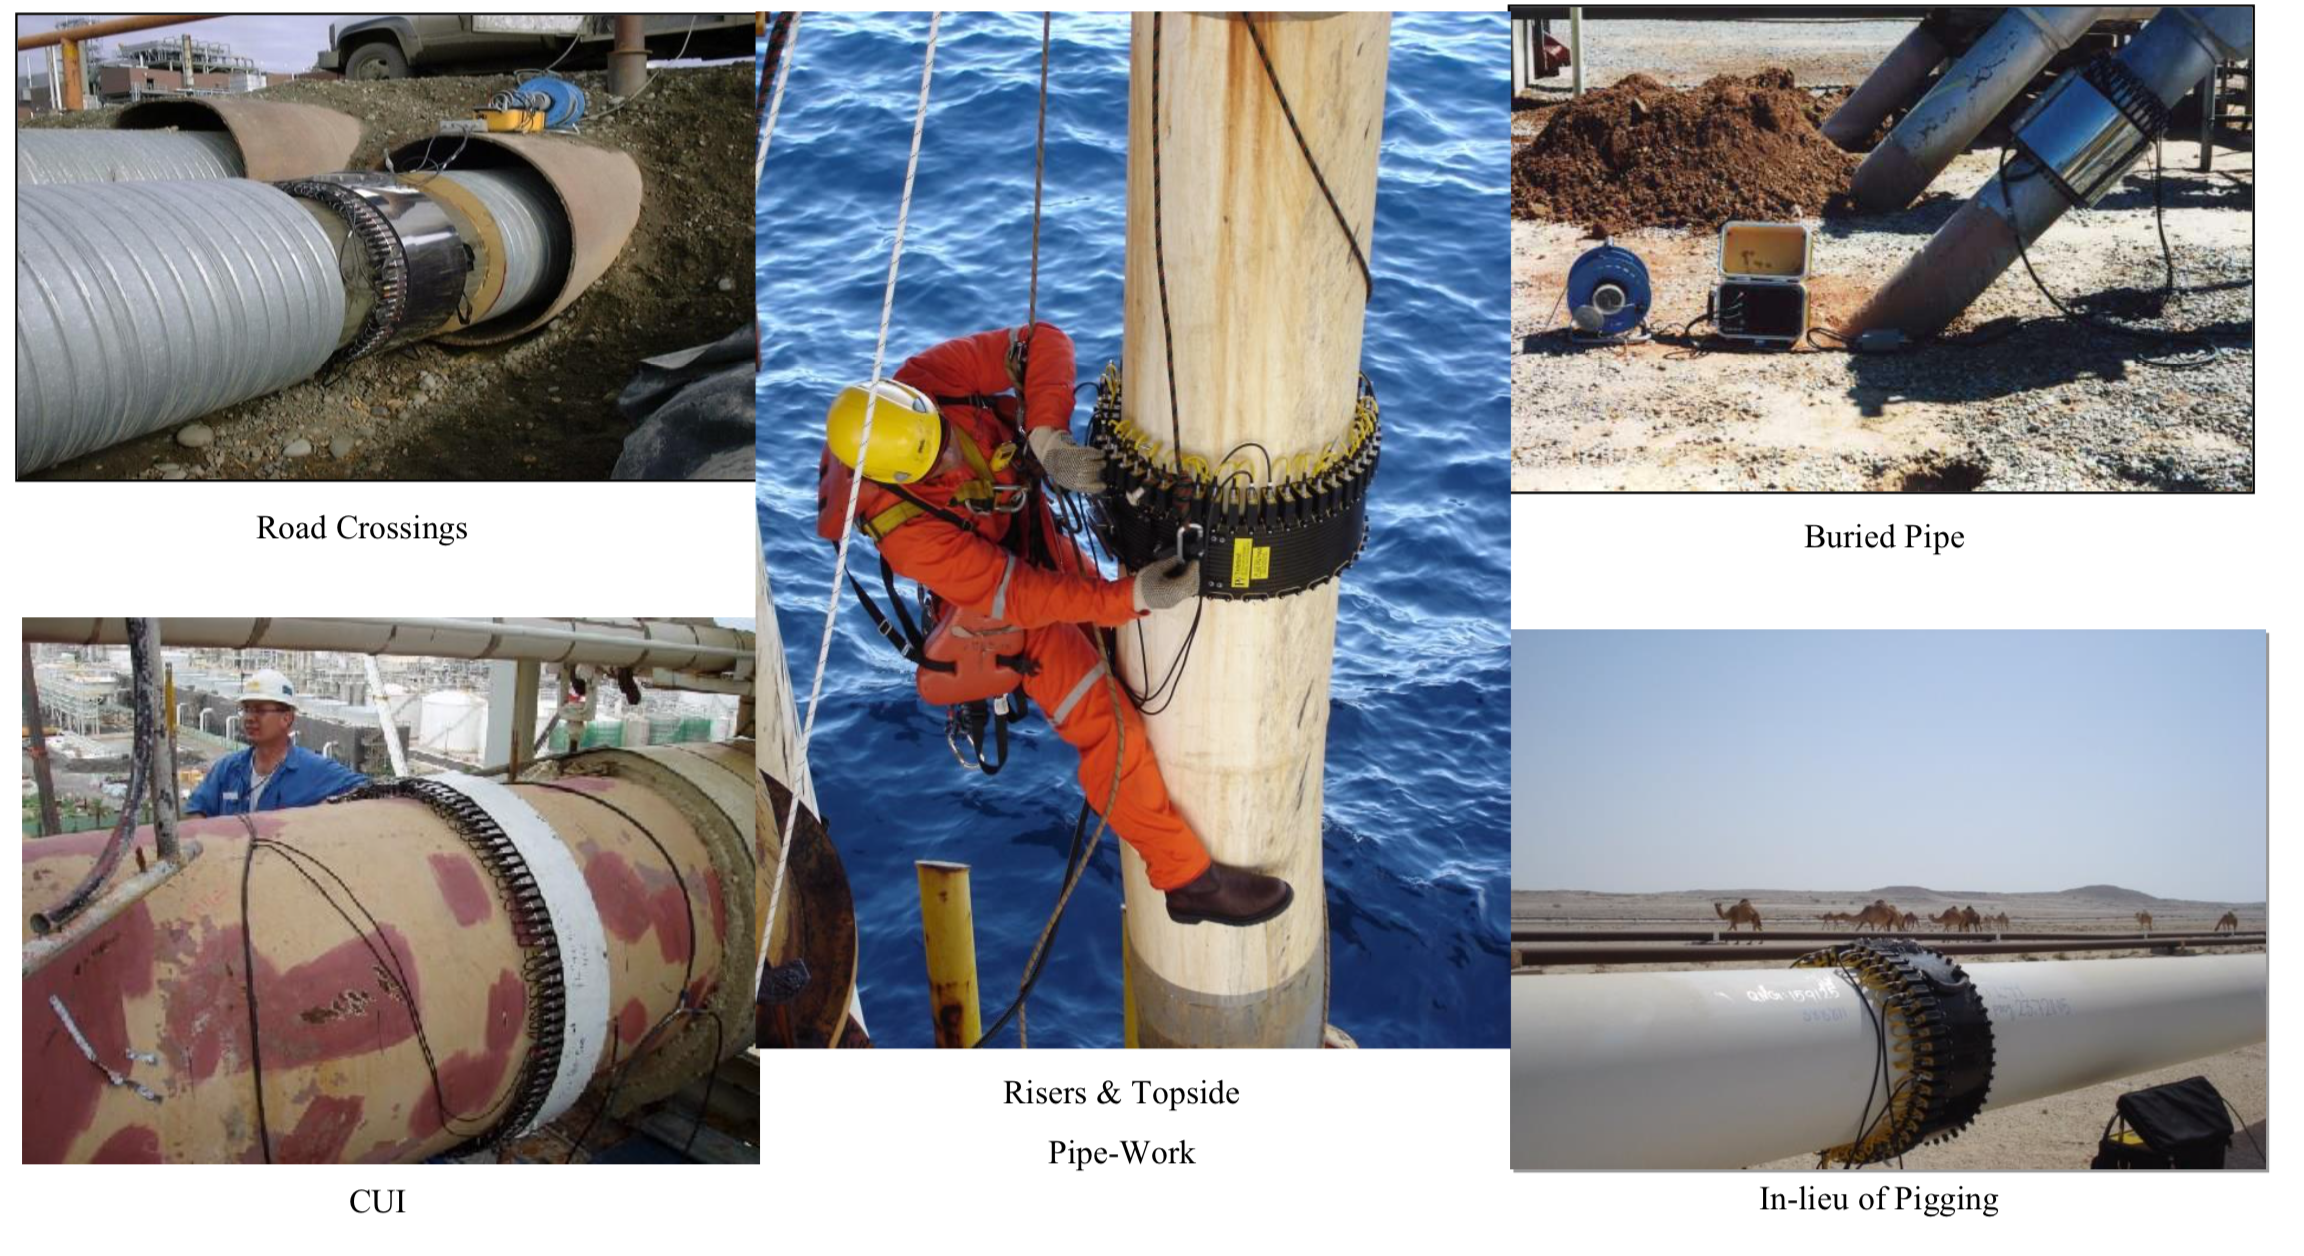
LRUT – Examples of Application
In-Service Tank Cleaning, Inspection and Management
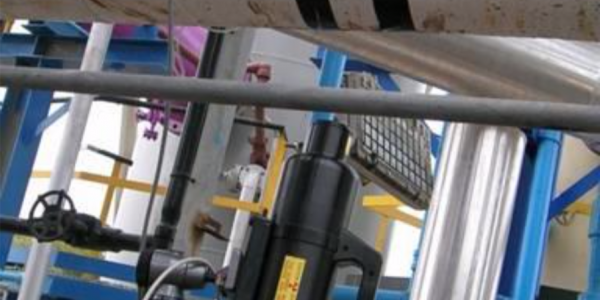
- On-site plant maintenance inspections of insulated pipes, joints, welds etc.
- No need to dismantle pipe segments, remove insulation to trace leaks or halt production for long periods of time.
